With rising electricity costs and growing environmental concerns, solar energy has become a go-to solution for homeowners seeking sustainable, cost-effective power. While hiring a professional installer is common, many individuals are now exploring DIY solar panel installation to save even more money.
This guide will walk you through the step-by-step process of installing solar panels yourself—even if you’re a complete beginner. Whether you’re looking to reduce your carbon footprint, lower your energy bill, or gain energy independence, this guide will help you start strong.
Why Go with Solar Panels?
Before jumping into installation, let’s explore the benefits of DIY solar panel projects:
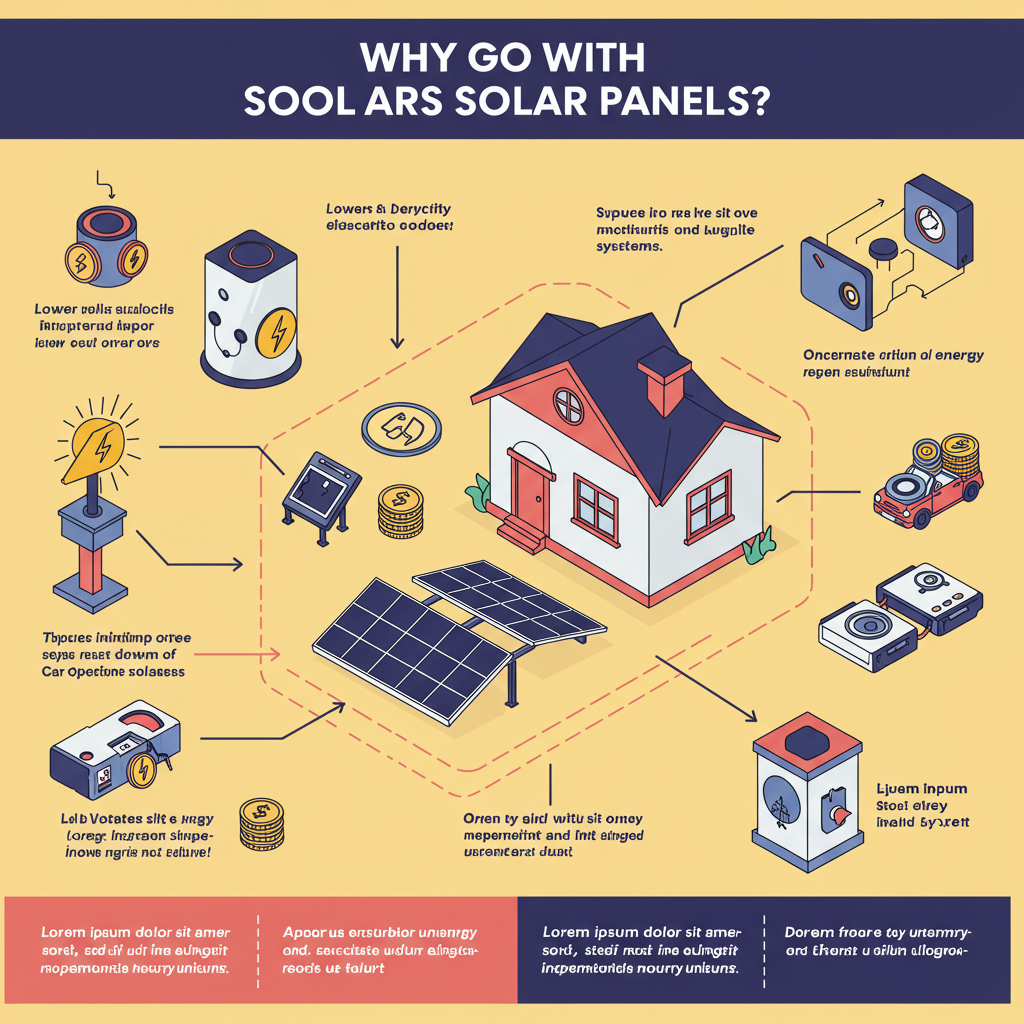
- Cost savings: Professional installation can cost thousands of dollars. Doing it yourself can save 30-50% on total expenses.
- Learning experience: Gain hands-on knowledge about how your solar system works.
- Custom design: Tailor your solar system to your specific energy needs.
- Satisfaction: Enjoy the pride of building your own renewable energy system.
Tools & Materials You’ll Need
Before getting started, gather the following:
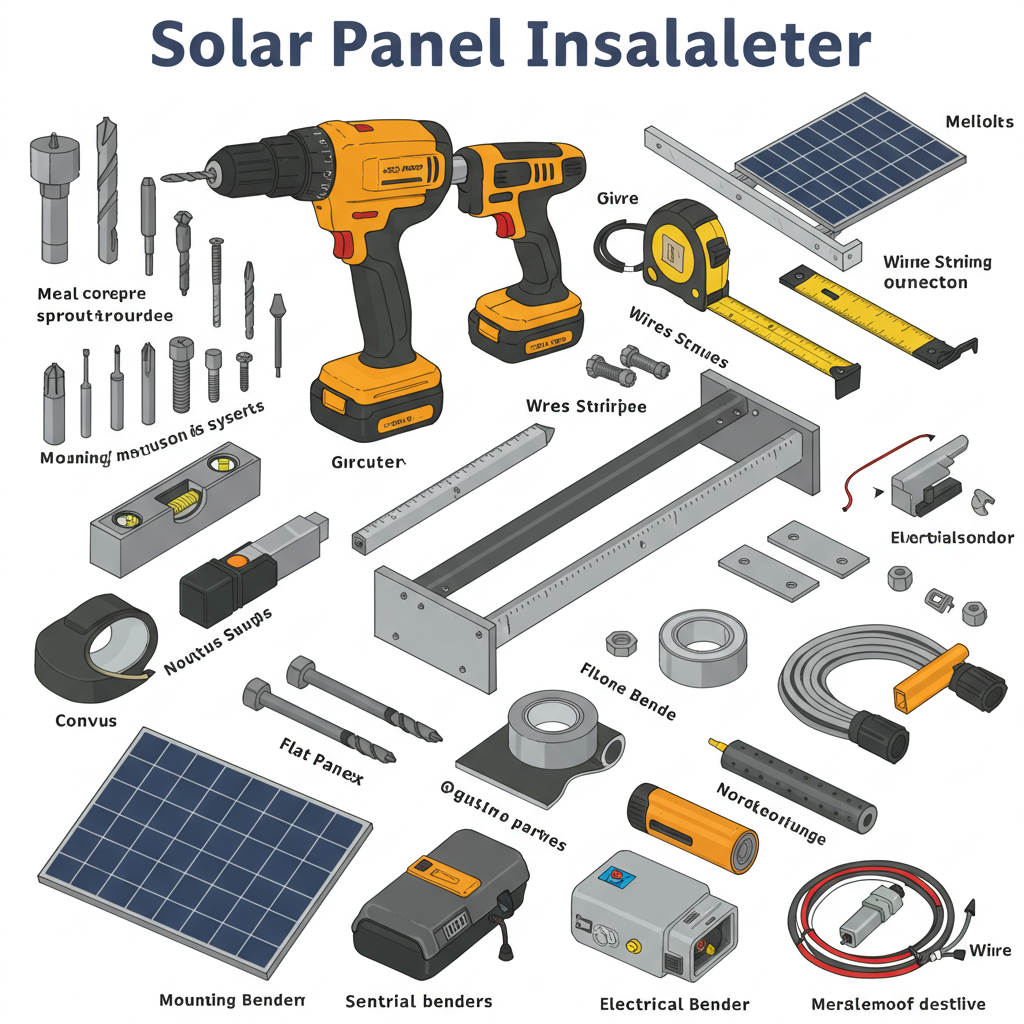
Basic Tools:
- Power drill and bits
- Screwdrivers
- Wire cutters/strippers
- Wrenches
- Tape measure
- Ladder
- Safety harness
Materials:
- Solar panels
- Inverter (string, micro, or hybrid)
- Mounting racks and hardware
- Charge controller (if using batteries)
- Battery bank (optional for off-grid)
- Conduit and wiring
- Electrical panel with breakers
Note: Always follow local codes and consult with an electrician to ensure safety and legality.
Step-by-Step Guide for Solar Panel Installation
Step 1: Evaluate Your Home’s Solar Potential
Use tools like Google Project Sunroof or PVWatts to assess:
- Roof direction (south-facing is best in the Northern Hemisphere)
- Roof pitch and shading
- Average sun exposure
Step 2: Calculate Your Energy Needs
Look at your utility bills to determine average kWh usage. Then decide:
- How much of that you want to offset with solar
- The number and wattage of panels required
Step 3: Choose Your System Type
There are three main types:
- Grid-tied: Most cost-effective; ties into your utility grid
- Off-grid: Ideal for remote locations; requires batteries
- Hybrid: Grid-tied with battery backup
For beginners, grid-tied systems are easiest and cheapest to implement.
Step 4: Acquire Necessary Permits
Contact your local building department for:
- Electrical permits
- Zoning approval
- Net metering application (for grid-tied systems)
Failure to get permits can result in fines or removal of the system.
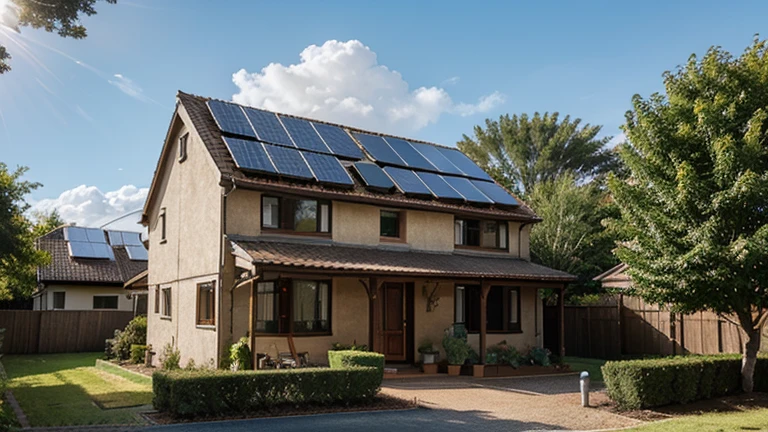
Step 5: Install Mounting System
Mounting systems can be roof-mounted or ground-mounted:
- Secure racking rails to roof rafters with lag bolts.
- Use flashing to prevent roof leaks.
- Ensure mounts are tilted toward optimal sun angle (usually 30–45°).
Tip: Use a chalk line to align mounts evenly.
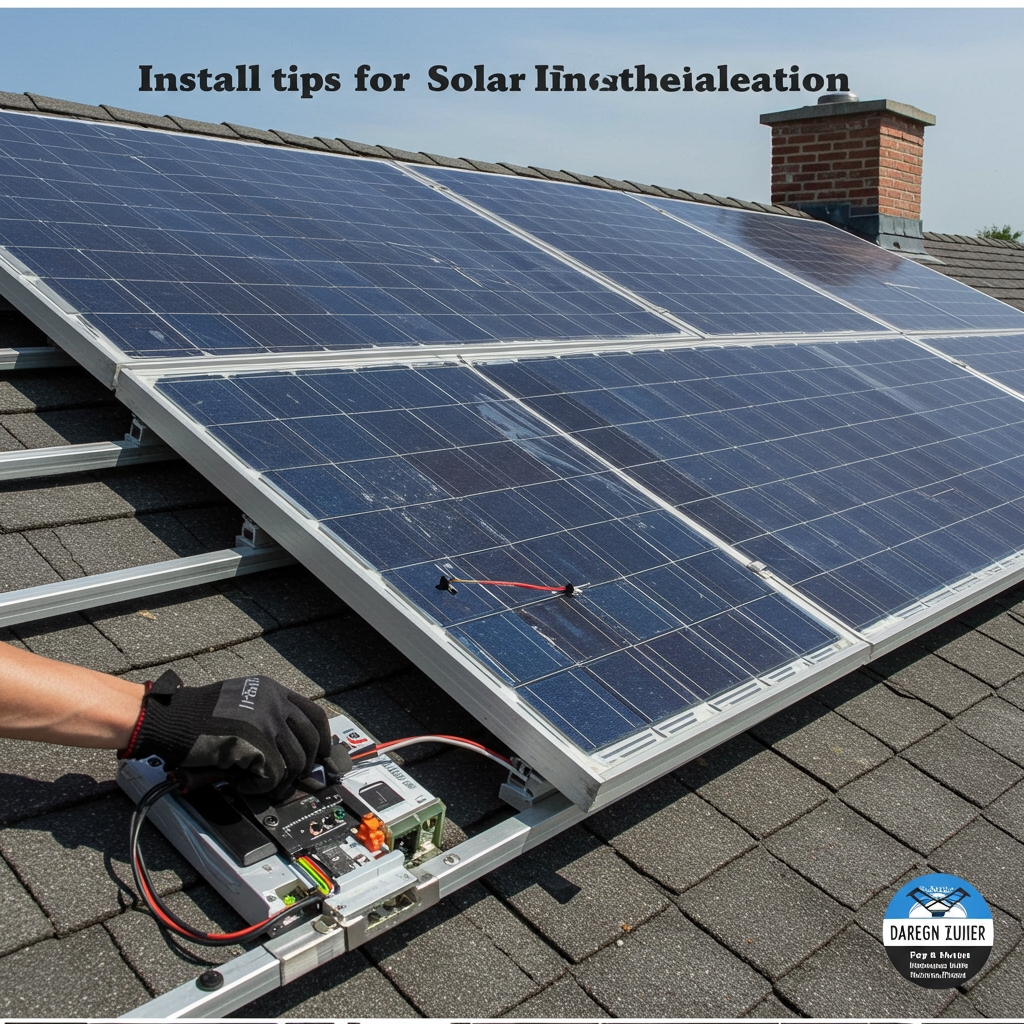
Step 6: Attach Solar Panels
- Carefully lift and secure solar panels to mounting racks.
- Connect panels in series or parallel, depending on voltage and current requirements.
- Double-check alignment and hardware tightness.
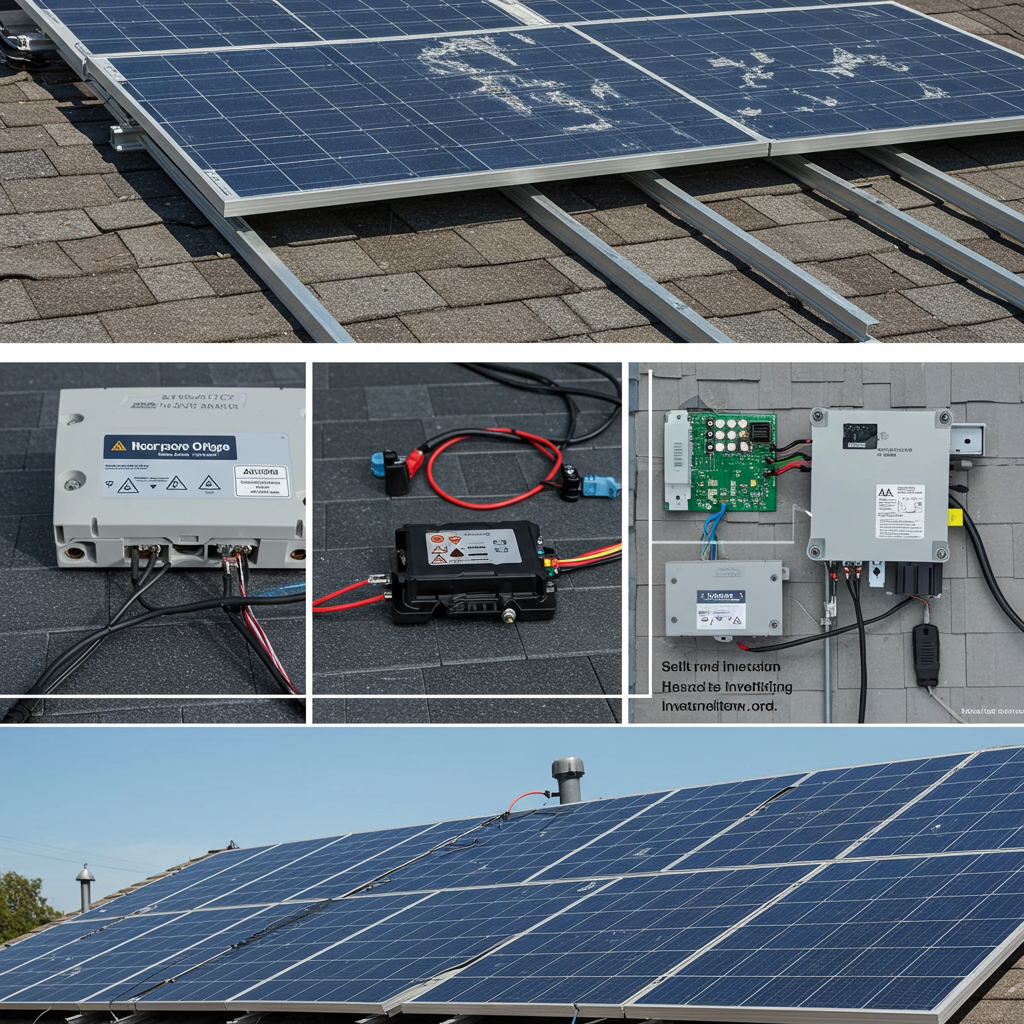
Step 7: Wiring the System
- Use conduit to protect wires from elements.
- Connect solar panel wires to a combiner box.
- From there, connect to an inverter that converts DC to AC power.
- Connect the inverter to your main breaker panel or battery bank, depending on the system.
Safety Warning: Always turn off the main breaker before making connections.
Step 8: Ground the System
- Proper grounding protects against electrical faults and lightning.
- Install a ground rod and connect it to the inverter and panel frames.
Step 9: Final Inspection & Testing
- Call your local inspector to check the system.
- Ensure everything is up to code.
- Your utility may also perform a final inspection before granting Permission to Operate (PTO).
Step 10: Activate and Monitor
- Once approved, turn on the system.
- Use a solar monitoring app or system dashboard to track performance.
- Monitor daily production and compare with expected output.
Common Mistakes to Avoid
- Skipping permits – Legal issues can arise if you don’t follow local codes.
- Poor shading analysis – Shade drastically reduces solar efficiency.
- Undersizing or oversizing your system – Always match your energy goals and budget.
- Improper wiring – Can lead to fires or equipment damage.
- No monitoring system – You won’t know how your system is performing.
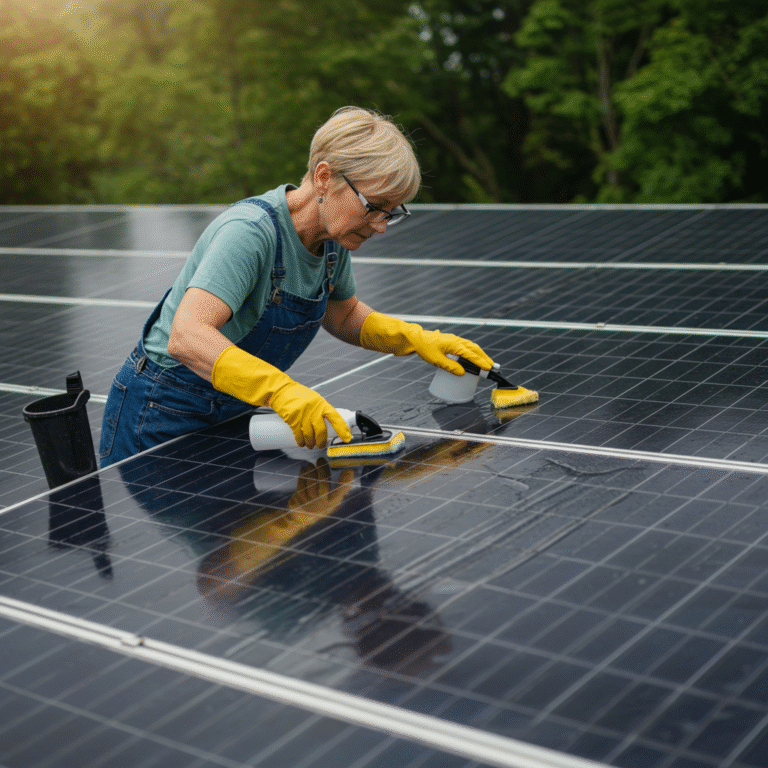
Maintenance Tips for DIY Systems
- Clean panels every 6–12 months with a hose and soft brush.
- Inspect wiring and connections annually for corrosion or wear.
- Check inverter status lights regularly.
- Use a monitoring app to track system health.
Frequently Asked Questions (FAQ)
Q1: Is it legal to install solar panels myself?
Yes, in most areas. However, you must follow local electrical codes and obtain proper permits. Some states require a licensed electrician to do the final connection to the grid.
Q2: How much money can I save by doing it myself?
You can save up to 50% of the installation cost. A typical 6kW system might cost $15,000 with professional installation but only $7,500–$9,000 if done yourself.
Q3: Do I need to be an electrician to do this?
No, but some electrical knowledge is important. You may still need a certified electrician to connect your system to the main panel or for inspection sign-off.
Q4: Can I go off-grid with a DIY solar system?
Yes, but it requires batteries and more complex planning. Off-grid systems are usually more expensive and harder to install than grid-tied ones.
Q5: What happens during a power outage with a DIY system?
If you’re grid-tied without batteries, your system will shut off during outages for safety. A hybrid system with battery backup is needed for backup power.
Conclusion
Installing your own solar panel system is not only achievable but incredibly rewarding. While it involves upfront effort, research, and safety precautions, the long-term savings and environmental benefits are well worth it.
From planning and permits to mounting panels and flipping the switch, this DIY solar guide has equipped you with the steps and tips needed to get started with confidence.
Final Words: Ready to Start Your Solar Journey?
If you’re passionate about sustainability and love hands-on projects, DIY solar panel installation might be your perfect next move. Just remember—plan carefully, prioritize safety, and enjoy the independence that comes with generating your own clean energy.